

A Saturday drip can turn into a Sunday flood if no one acts. Picture a slow sink, a faint drip under the vanity, and a toilet that won’t stop. With a few straightforward steps, many minor issues can be handled quickly. Basic plumbing repairs are small, lower-risk tasks a homeowner can tackle with common hand tools, such as clearing a sluggish drain, replacing a worn flapper, or reseating a P-trap gasket.
Port Clinton Plumbing helps homeowners across Port Clinton every week, and the same simple fixes solve the majority of small leaks and clogs. This guide explains what’s reasonable to try yourself, the essential tools to keep on hand, and when it’s time to stop and call a licensed plumber. You’ll also find prevention tips to reduce clogs and backups before they start in Port Clinton and nearby neighborhoods.
Table of Contents
- Before You Start: Safety, Scope, and Legal Considerations
- Tools and Materials: A Starter Kit for DIY Fixes
- Clearing Slow and Clogged Drains Without Harsh Chemicals
- Stopping Faucet and Sink Leaks the Right Way
- Running Toilets and Minor Leaks: Fast, Reliable Fixes
- Garbage Disposals, Odors, and Under-Sink Drain Care
- Preventive Maintenance and When to Call a Plumber
Before You Start: Safety, Scope, and Legal Considerations
Basic plumbing repairs are modest tasks that don’t require opening walls, disturbing gas lines, or altering the main drain. Think of clearing a trap, reseating a gasket, swapping a toilet flapper, or replacing a faucet aerator. These jobs rely on simple tools and careful steps rather than heavy-duty equipment. Done early, they can stop leaks and protect cabinets, floors, and finishes.
Safety comes first. Water can damage floors and woodwork quickly. Shut off water at the fixture valve before removing parts. Test the shutoff by opening the tap. Place a bucket and towels below any trap. Wear gloves and eye protection when cleaning drains. Never mix cleaners, and do not pour chemicals into a disposal or a toilet.
Know the limits. Don’t open a water heater, cut into pipe, or touch any gas line. Gas work requires a licensed professional. If you detect a rotten egg odor, leave the home and call your utility. For sewage smells from multiple drains, or water emerging from a floor drain, stop and contact Emergency Plumbing. Sewage presents health risks and can signal a blocked main sewer.
Permits may be required for substantial work like repiping, water heater replacement, or sewer line repair—these are not DIY projects. Many states and cities require a licensed plumber for this scope of work. When in doubt, ask your local building department. Small repairs like flapper swaps or aerator cleaning typically don’t need permits.
Stop right away if you see sparking, rapidly wet drywall, bulging ceilings, or water near outlets. Shut off the home’s main if you have a burst. Then bring in a professional. If a pipe breaks, turn off water, open a faucet to relieve pressure, and protect valuables. Quick drying helps limit damage.
Tools and Materials: A Starter Kit for DIY Fixes
A compact kit will cover most straightforward jobs. A cup plunger for sinks and a flange plunger for toilets address the majority of clogs. A basic hand auger (drain snake) can reach hair and soap buildup near the trap. Channel-lock pliers, an adjustable wrench, and a basin wrench help loosen and tighten nuts under sinks. A small screwdriver set and hex keys round out the essentials.
Add a bright flashlight or headlamp for tight cabinet spaces. A utility knife helps cut tape and old sealant. A tape measure ensures supply lines are the correct length. Keep rags and a small bucket in the kit. A level helps confirm traps are aligned to prevent leaks. Teflon tape (thread seal tape) improves seals on threaded joints like supply lines and shower arms.
Some parts wear out and should be stocked. Keep spare toilet flappers that match your brand and size. Store extra fill valves and tank-to-bowl gaskets. If you know your faucet models, keep cartridges or O-rings on hand. Universal faucet repair kits can help in a pinch. Stock 1-1/4" and 1-1/2" slip joint washers for P-traps.
Useful consumables include plumber’s putty for sink drains, silicone for certain seals, and a mild cleaner for aerators. White vinegar helps dissolve mineral scale on components. A nylon brush cleans threads without scratching. Keep both short and long braided supply lines ready for toilets and faucets in case one fails during a repair.
Label bins for washers, gaskets, and screws—small parts disappear fast inside a cabinet. Photograph assemblies before you disassemble a trap. That visual reference helps match angles and heights on reassembly. Close the drain or use a parts tray so tiny screws don’t vanish down the pipe.
Clearing Slow and Clogged Drains Without Harsh Chemicals
Most slow drains result from hair, soap residue, grease, or food particles lodged near the trap. Start with the basics. For sinks and tubs, use a cup plunger. Block the overflow with a damp cloth for better pressure. Fill the basin with a few inches of water and plunge in short, firm bursts. Repeat until the flow improves.
If plunging doesn’t work, inspect the trap. Place a bucket under the P-trap. Loosen the slip nuts by hand or with pliers. Remove the trap and clear debris. Clean both the trap and the trap arm. Replace any cracked or flattened slip joint washers. Hand-tighten the connections and then snug a quarter turn; avoid over-tightening.
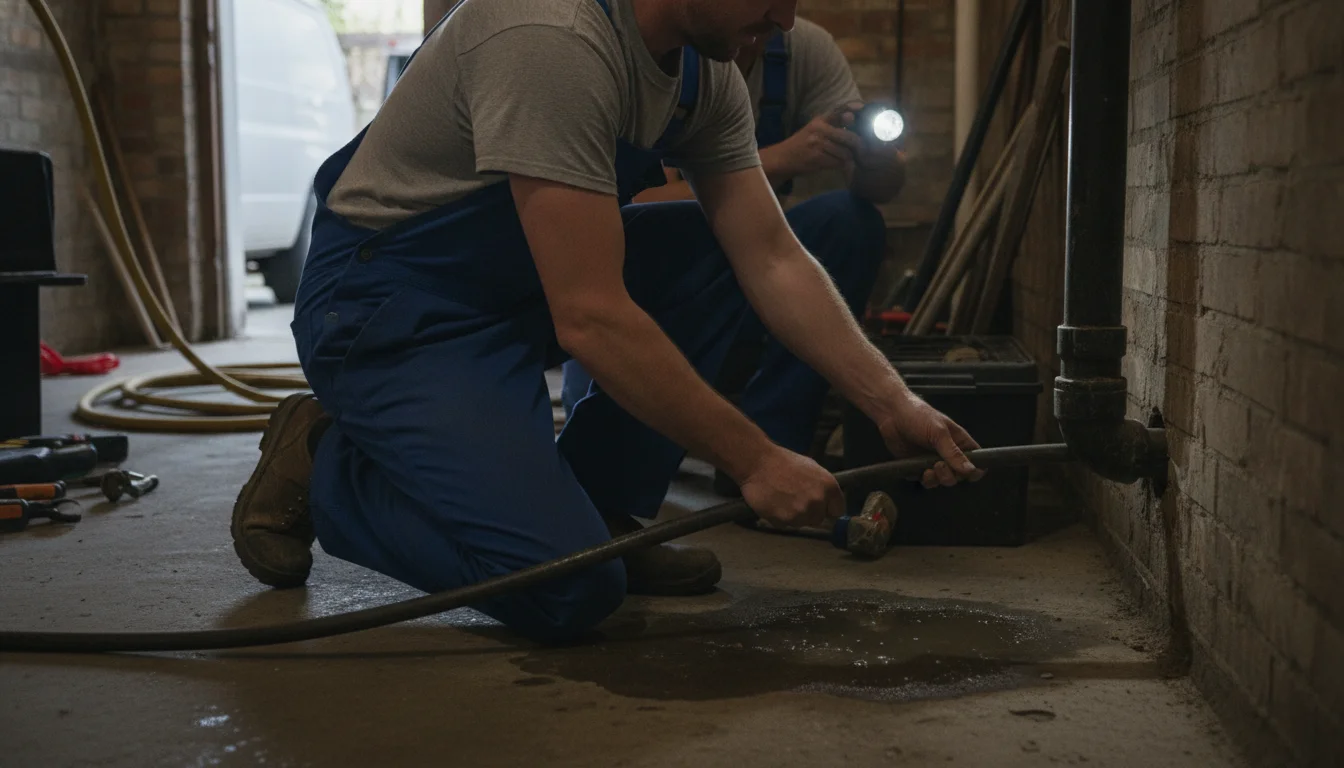
A hand auger can get beyond the trap to the first bend. Feed the cable, rotate the handle, and feel for resistance. Crank gently to break through the clog. Withdraw the cable slowly and clean it. Run hot water to test for smooth flow. Avoid harsh drain chemicals; they can damage pipes, harm disposals, and present burn risks.
For showers and floor drains, hair and biofilm often accumulate at the strainer. Remove the cover. Use a hair hook or a small plastic barbed tool to pull out debris. Scrub the drain throat with a nylon brush and mild cleaner. Rinse thoroughly. If multiple fixtures gurgle or you see sewage at a floor drain, that’s a warning sign of a main line issue.
Watch for signs of sewer backup. Repeated clogs throughout the home, a toilet bubbling when a sink drains, and strong sewer gas odors suggest a broader problem. Tree roots, a broken line, or a heavy obstruction could be the cause. This calls for Drain Cleaning or Sewer Line Repair by a licensed pro. Do not keep plunging if sewage is present.
Stopping Faucet and Sink Leaks the Right Way
A dripping faucet wastes water and stains fixtures. Begin with the simplest step. The aerator—the small screen at the spout—can clog with minerals. Unscrew it, soak in vinegar to dissolve buildup, rinse, and reinstall. If the drip continues, the internal cartridge, stem, or O-ring is likely worn. Shut off water at the valves before opening the faucet.
Remove the handle to expose the cartridge or stem. Identify the brand and model if possible. Pull the part straight out. Inspect O-rings for cracks or flattening. Replace with the same size components. A thin coat of plumber’s grease on O-rings helps seals seat properly. Reassemble and test; most drips stop once worn parts are replaced.
Leaks under a sink often originate at the drain assembly or trap. Gaskets may dry out or misalign. To reseal a sink drain, loosen the locknut under the basin. Lift the flange. Roll a thin ring of plumber’s putty and place it under the flange. Reseat the flange and tighten the locknut evenly. Wipe away excess putty.
For trap leaks, verify alignment. The trap arm should slope slightly toward the wall. Install slip joint washers with the conical side facing the nut. Hand-tighten first, then give a small additional turn with pliers. Run water and check for drips. A dry tissue on each joint helps spot a fine leak. A steady drip means you should revisit the washer or alignment.
Never use sealant on slip joints; these are meant to be serviceable. Avoid cross-threading plastic nuts. If a nut feels gritty or skewed, back off and start again. If a tailpiece is dented or split, replace it. These inexpensive parts prevent future headaches.
Running Toilets and Minor Leaks: Fast, Reliable Fixes
A running toilet wastes water and creates constant noise. A quick test helps isolate the cause. Put a few drops of food coloring in the tank and wait without flushing. If bowl water changes color, the flapper is leaking. If water rises to the overflow, the fill valve is set too high. Check the tank’s waterline mark.
Check the chain. If it’s too short, the flapper won’t seal; too long, it can snag beneath the flapper. Aim for a slight slack. Adjust the handle nut if the lever binds. If the flapper is worn or warped, replace it with the correct size and style for your valve and brand.
To replace a flapper, shut off the supply and flush to drain the tank. Unclip the old flapper from the overflow tube. Clip the new one in place. Attach the chain with minimal slack. Turn the water back on and test. If a leak persists, the flush valve seat may be rough; a new flush valve may be necessary, which is a larger task.
If the tank overfills, adjust the fill valve float to the tank mark. Many designs twist to raise or lower the level. If the valve hisses or won’t shut off, replace it. Turn off the water, disconnect the supply line, remove the old valve nut, lift the valve out, and install the new one. Tighten, reconnect, and test joints for dryness.
Small leaks at tank bolts or the tank-to-bowl gasket can drip down the back of the toilet. Replace the rubber washers at the bolts and the large doughnut gasket between tank and bowl. Tighten both bolts evenly so the tank sits flat. Don’t overtighten and risk cracking the porcelain.
Garbage Disposals, Odors, and Under-Sink Drain Care
If a disposal hums but won’t spin, it’s likely jammed. Turn the switch off. Unplug the unit or shut power at the breaker. Use the hex key slot on the bottom to turn the motor back and forth to free the jam. Press the small reset button underneath. Restore power and test with cold water running.
Never place your hand into a disposal. Use tongs if you must remove debris. Avoid hard pits, bones, and fibrous peels that can tangle or dull the impeller. Feed small amounts with cold water on to help move scraps through the trap and into the line.
Odors often originate in the splash guard and trap as biofilm builds. Clean the rubber guard with a brush and mild cleaner. Grind a few ice cubes with a pinch of baking soda to scrub the chamber. Rinse with cold water. Skip harsh cleaners or bleach mixtures; they can harm components and create dangerous fumes.
Under-sink leaks often start at the disposal gasket, the dishwasher inlet hose, or the sink strainer. Check with a dry tissue while water runs. Look around the top ring of the disposal where it meets the sink. If damp, reseat the mounting ring and replace the gasket. For dishwasher hose drips, tighten the clamp or replace the hose.
If odors arise from many drains, or a floor drain bubbles, a vent or main line issue may be to blame. That’s a job for a Blocked Drain Plumber. Multiple fixtures affected at once indicate a shared line problem. Avoid running the dishwasher or washing machine until a pro clears the line.
Preventive Maintenance and When to Call a Plumber
A simple routine keeps drains moving. Each month, clean faucet aerators and showerheads in vinegar to remove scale. Remove hair from shower strainers weekly. Run hot water after dishwashing to flush grease traces. Keep coffee grounds, fats, oils, and wipes out of drains. Even so-called “flushable” wipes can clog lines according to many utility advisories.
Seasonal checks matter as well. Before holidays, book Drain Cleaning if you expect heavy use. Test toilet shutoff valves by turning them off and back on; replace any that stick. Insulate exposed pipes before freezing weather. Know where the main shutoff is and label it. A quick shutoff limits water damage if a pipe bursts.
Watch for red flags. Multiple slow drains, sewer odors, or water backing up from a floor drain point to a main line issue. Gurgling in sinks when the washer drains can also signal this. Water stains on walls, warm spots on floors, or a sudden jump in the water bill may indicate a hidden leak. A persistent musty smell can mean long-term dampness.
Some tasks require a licensed professional. Gas work, water heater repair or replacement, and Sewer Line Repair are not DIY. Water heaters carry scald and pressure risks. Gas lines must be leak-tested and installed to code. If you find yourself asking, “who installs gas lines near me,” the safe path is Gas Line Plumbing performed by a licensed plumber.
If a pipe bursts, turn off the main, open a faucet to lower pressure, and move items out of the area. Never use open flames to thaw frozen pipes. Apply gentle heat and call Emergency Plumbing for safe thawing and repair. After any sewage backup, avoid the area and call a professional. Sewage can contain harmful germs; see CDC guidance on sewage exposure and cleanup for details (CDC).
Port Clinton Plumbing serves homes and businesses across the Port Clinton area and greater Port Clinton. For heavy clogs, sewer backups, or any urgent water leak, a trained technician can help quickly. Schedule Drain Cleaning or Emergency Plumbing for fast relief, then follow the steps in this guide to keep everything running smoothly.
Frequently Asked Questions
What should I do first if a pipe bursts?
Turn off the main water valve immediately. Open a nearby faucet to release pressure. Move items out of the wet area and set buckets under drips. Do not turn on power near water. Call a licensed plumber to repair the break and check for hidden damage in walls and floors.
How do I fix a running toilet quickly?
Check the chain length and the flapper seal first. Add just enough slack to the chain so it lifts and then drops cleanly. If dye placed in the tank shows color in the bowl, replace the flapper. Set the fill valve to the tank waterline mark and test for silence and a steady level.
Is it safe to use chemical drain cleaners?
Avoid harsh chemical cleaners. They can damage pipes, disposal parts, and seals, and splashes can burn skin or eyes. Try plunging, cleaning the trap, and using a hand auger. If several drains are slow at once, schedule professional Drain Cleaning to clear the main line safely.
Who installs gas lines near me?
Gas line work must be handled by a licensed plumber. This work requires approved materials, properly tested joints, and code compliance for safety. For any new gas appliance, relocation, or suspected leak, book Gas Line Plumbing. Do not attempt DIY gas work. If you smell gas, leave and call your utility.
How often should I clean faucet aerators and showerheads?
Mineral buildup slows water and causes uneven spray. Soak aerators and showerheads in vinegar for a few hours each month, then rinse. This helps restore flow and reduces splashing. If buildup returns quickly, consider a water quality check or a new cartridge if flow remains low after cleaning.
Key takeaways
- Basic plumbing repairs are small, lower-risk tasks you can handle with common hand tools.
- Start with shutoffs, buckets, and safety gear before any work.
- Clear clogs with plunging, trap cleaning, and a hand auger—skip harsh chemicals.
- Stop running toilets by adjusting chain and float levels or replacing simple parts.
- Call a licensed pro for gas, water heaters, sewer lines, or multiple-drain issues.
Conclusion
Small, timely steps resolve many home drain and leak issues fast. Keep a simple tool kit, work with the water off, and avoid harsh chemicals. For stubborn clogs, sewer odors, or leaks you can’t stop in Port Clinton, a licensed plumber is the safer route. Port Clinton Plumbing is ready to help with Drain Cleaning, Emergency Plumbing, and more. Contact us.
If you are not sure which of these you are dealing with, it is worth having someone look at it before it turns into a bigger job. Get in touch with Port Clinton Plumbing today and we will tell you where you stand.